

What you'll need: Twine - i got mine form Papemelroti. How much you'll get depends on how long you want your banderitas to be :)


Step 1: Fold both ends of the paper crosswise towards the middle. You can fold the paper in half first so you know where the center is.

Step 2: Cut this into half, so you'll end up with two pieces. Then take each piece and repeat step 1.

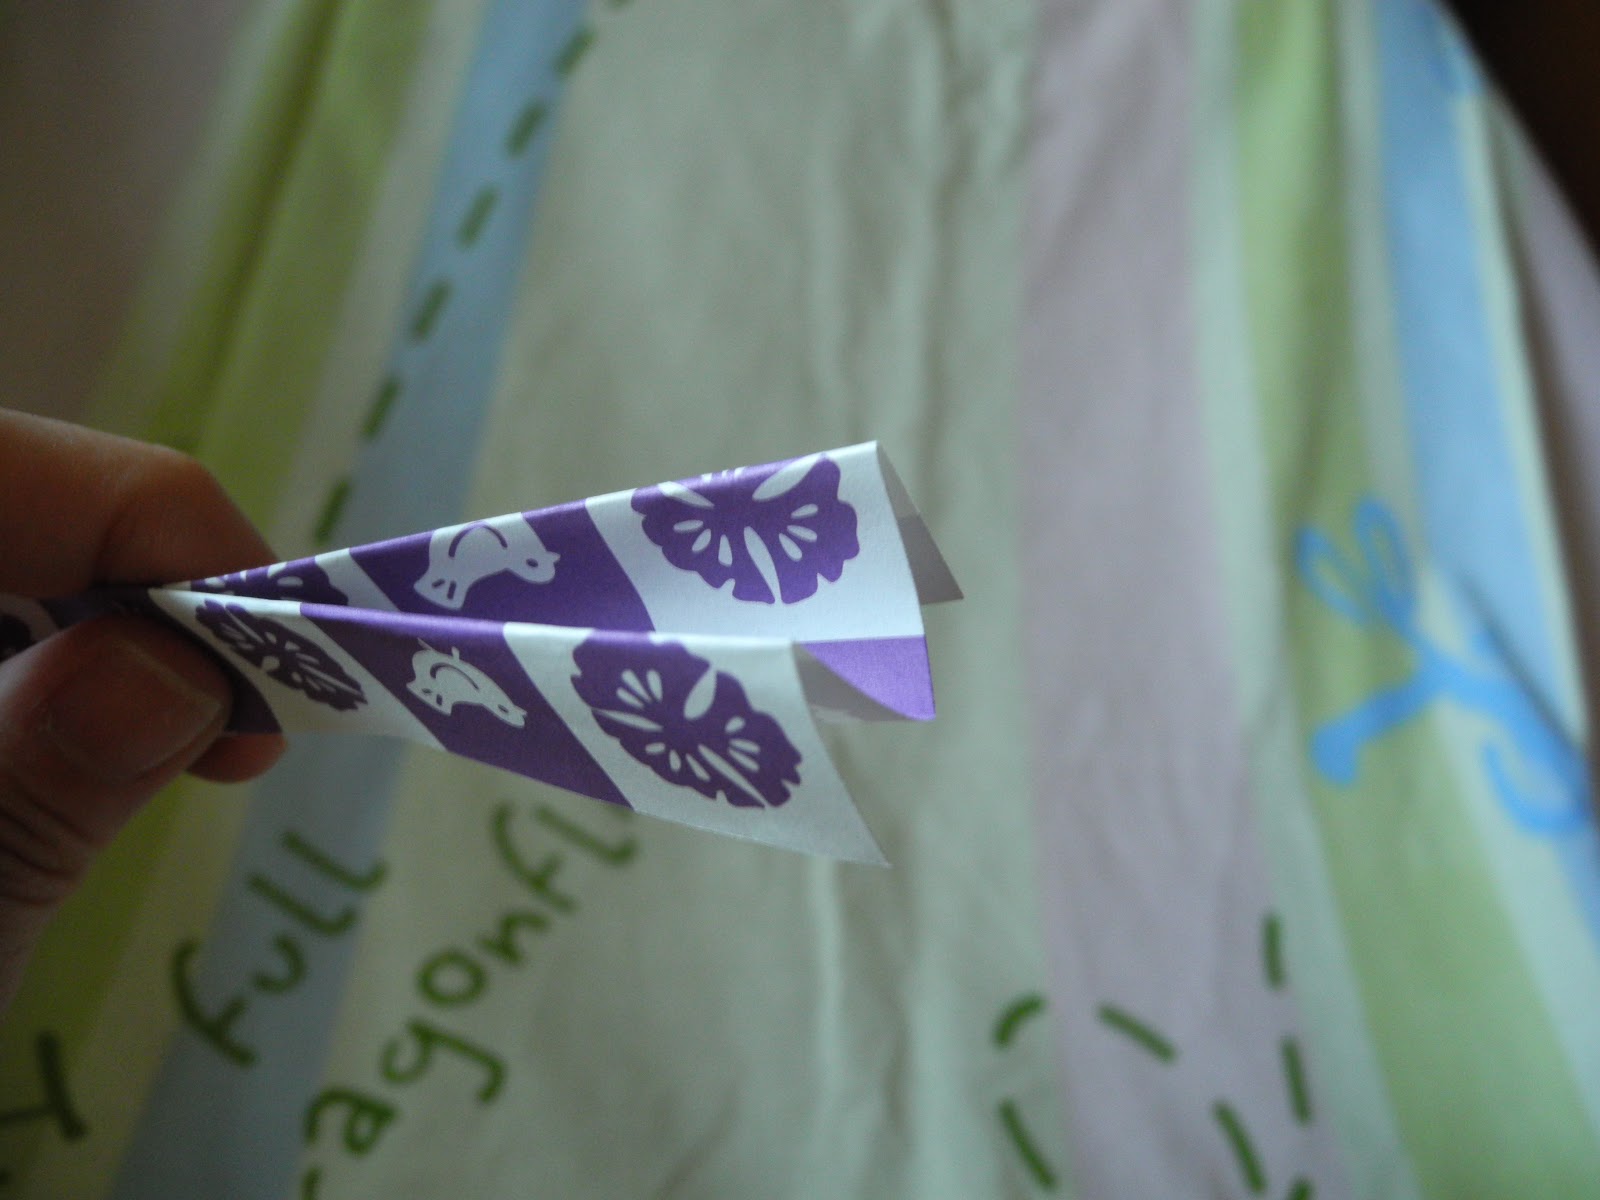
Step 3: Once you've repeated Step 1, take one of the pieces then instead of cutting it down the middle again we will fold the two sides away from each other, like the picture below. (in the picture I'm only holding out one of the 2 pieces). Repeat this step on the other piece.
Step 4: Hold your 2 pieces together then start cutting out banderitas. Take note that to make triangle cutouts you'll need to cut the sides to make the triangular shape we want.


Step 5: After cutting out all little triangles you need, you can start arranging them on your rope and gluing both sides together to create your very own banderitas :)

Step 5: After cutting out all little triangles you need, you can start arranging them on your rope and gluing both sides together to create your very own banderitas :)

And you'll end up with something like this! :) I know it sounds really tedious but trust me its worth it :) These festive banderitas will surely liven up any party that you have.

And you'll end up with something like this! :) I know it sounds really tedious but trust me its worth it :) These festive banderitas will surely liven up any party that you have.

From apairofpears.com ~ This is so cute and so easy. You can
add this to the top of a cake or between two bottles over a dessert.
Tie to two wood sticks (super cheap at craft stores) and stick into a cake
or vintage bottles.

No comments:
Post a Comment